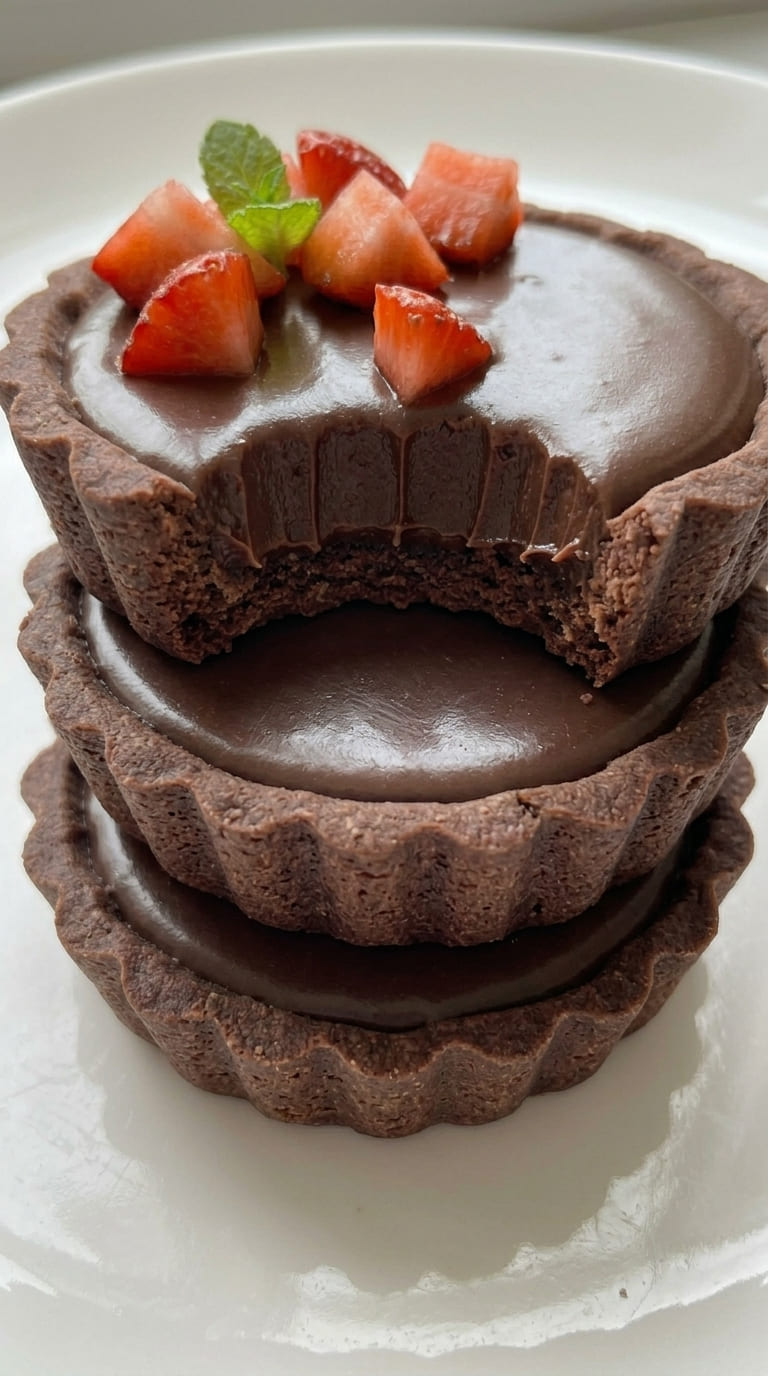
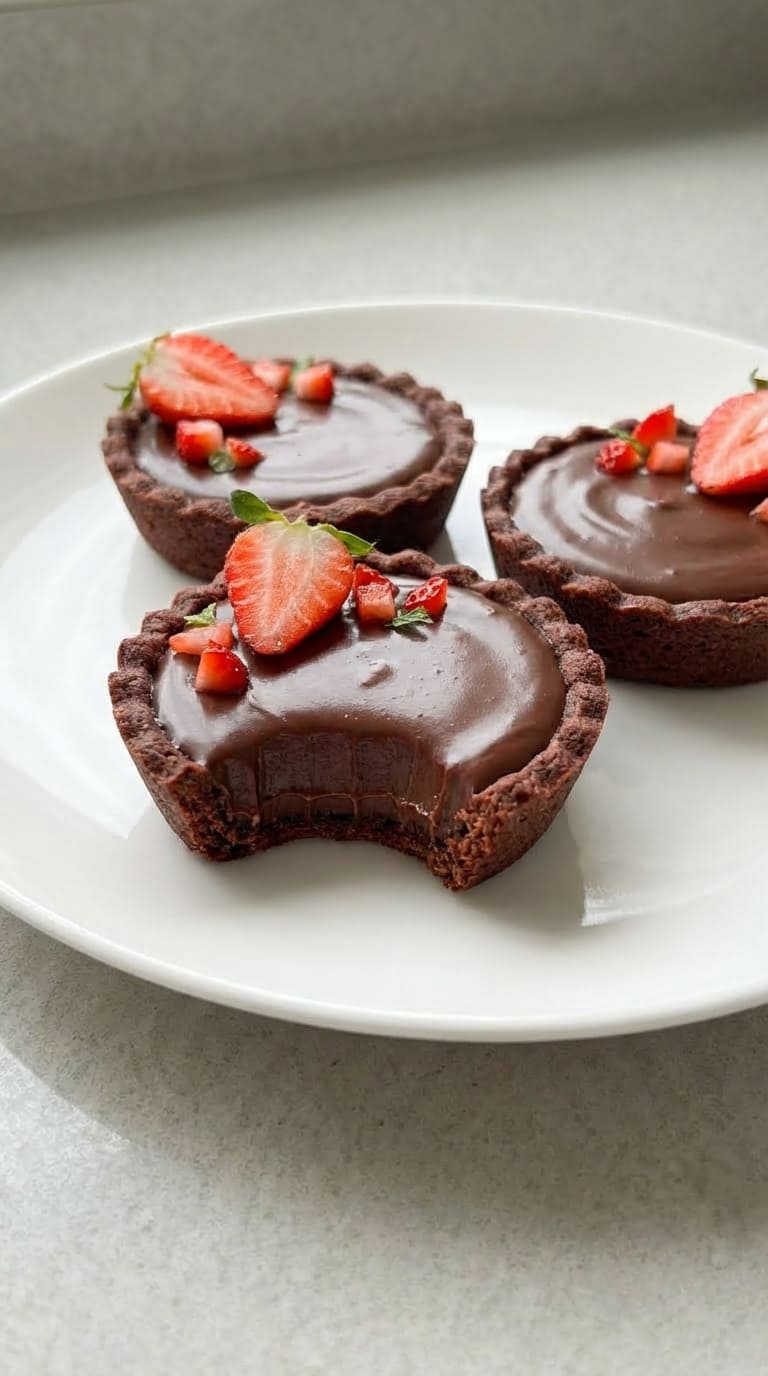
These rich Mini Chocolate Tarts are ideal for parties, birthdays, holiday desserts, or afternoon tea. A delightful bite-size treat that’s both simple and delicious!
Mini Chocolate Tarts Recipe – Chocolate Lovers’ Dream
We love this recipe for several reasons:
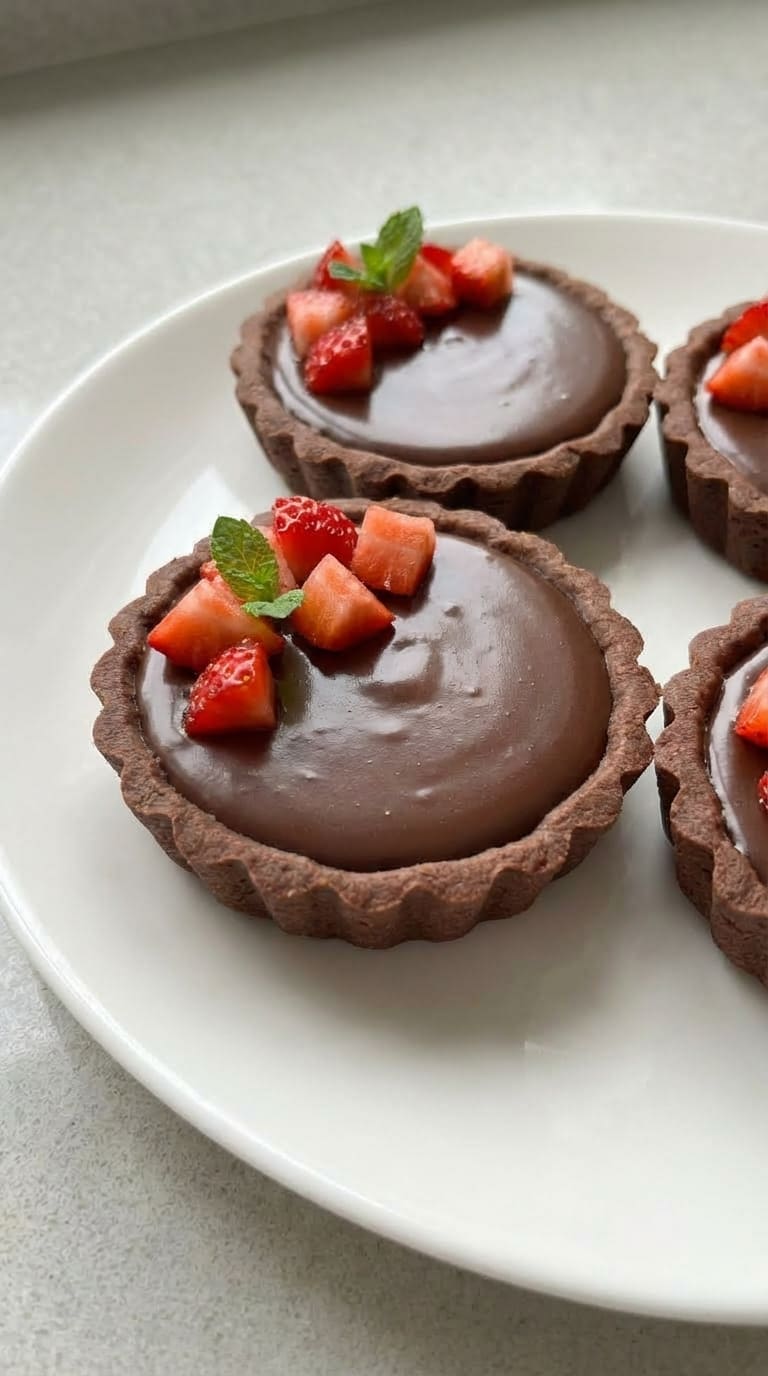
- These mini chocolate tarts are incredibly decadent and perfect for serving at any party, gathering, or as a sweet snack. They’re not only delicious but also quite simple to make, and you can prepare them ahead of time.
- Similar to the larger French Chocolate Ganache Tart, these chocolate tartlets feature a Chocolate Tart Crust paired with a quick and easy 2-ingredient Chocolate Ganache Filling.
- You don’t need specialized tartlet tins or fancy equipment; the tartlet crusts are made right in a muffin tin, just like these Tartlet Shells.
- You can easily customize these tartlets to make them even more enjoyable. Consider garnishing them with fruits like berries or citrus for a fun twist.
Here are some helpful tips and troubleshooting advice:
- Allow the chocolate pastry to rest for at least 1 hour after handling, but longer is even better. This helps prevent the pastry from moving or shrinking in the oven. Giving the dough time to relax allows the gluten to settle and the butter to chill thoroughly.
- Using baking weights, beads, dry beans, or rice during the initial half of the pastry baking is crucial. Since these mini chocolate tarts are small, you want to prevent the pastry from puffing up excessively in the oven. I’ve found that skipping weights leads to shrinking and excessive puffing. Remember to remove them halfway through baking to ensure the bottom of the pastry dries out properly.
- Since the filling doesn’t contain added sugar, your choice of chocolate significantly impacts the sweetness level. For a very dark, intense flavor, opt for a 70% dark chocolate. A 50% dark chocolate offers a balance of intensity and sweetness, while milk chocolate provides a much sweeter taste. Using high-quality chocolate is recommended, as it contributes significantly to the overall flavor of the tartlets.
- If there are still a few chunks of unmelted chocolate after incorporating all the cream, you can finish melting them using a double-boiler or by briefly microwaving them. Be cautious with the microwave to avoid burning the chocolate.
Mini Chocolate Tarts Recipe – Chocolate Lovers’ Dream
Recipe FAQs:
Can I use store-bought pastry shells?
Yes, if you prefer not to make your own pastry, you can use pre-made tartlet shells. While chocolate ones may be harder to find, plain crusts will work just fine.
What type of chocolate should I use for the filling?
You can use any proper cooking/baking chocolate of your choice. Avoid using eating chocolate, as it may not melt properly or re-solidify nicely. I used 70% dark chocolate for intense flavor, but you can use a milder dark chocolate or even milk chocolate if you prefer. Keep in mind that since there’s no added sugar in the filling, the sweetness of the dessert will depend on the type of chocolate you use (percentage of cacao, milk vs. dark chocolate, etc.).
How should I finish these Mini Chocolate Tarts?
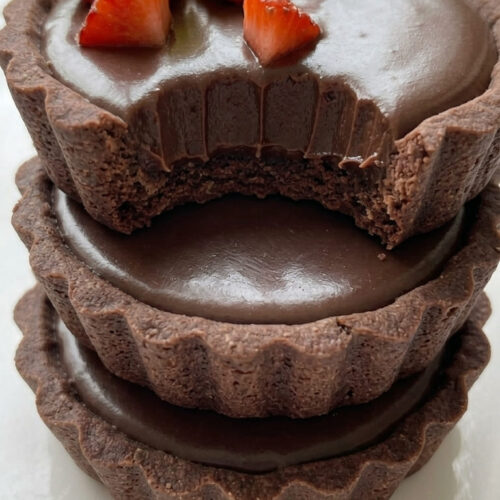
I simply topped these chocolate tartlets with a drizzle of melted chocolate and some cacao nibs. However, you can also garnish them with fresh fruits like berries, chocolate shavings, or a sprinkle of sea salt, for example!
Mini Chocolate Tarts Recipe – Chocolate Lovers’ Dream
Storing & Freezing Tips:
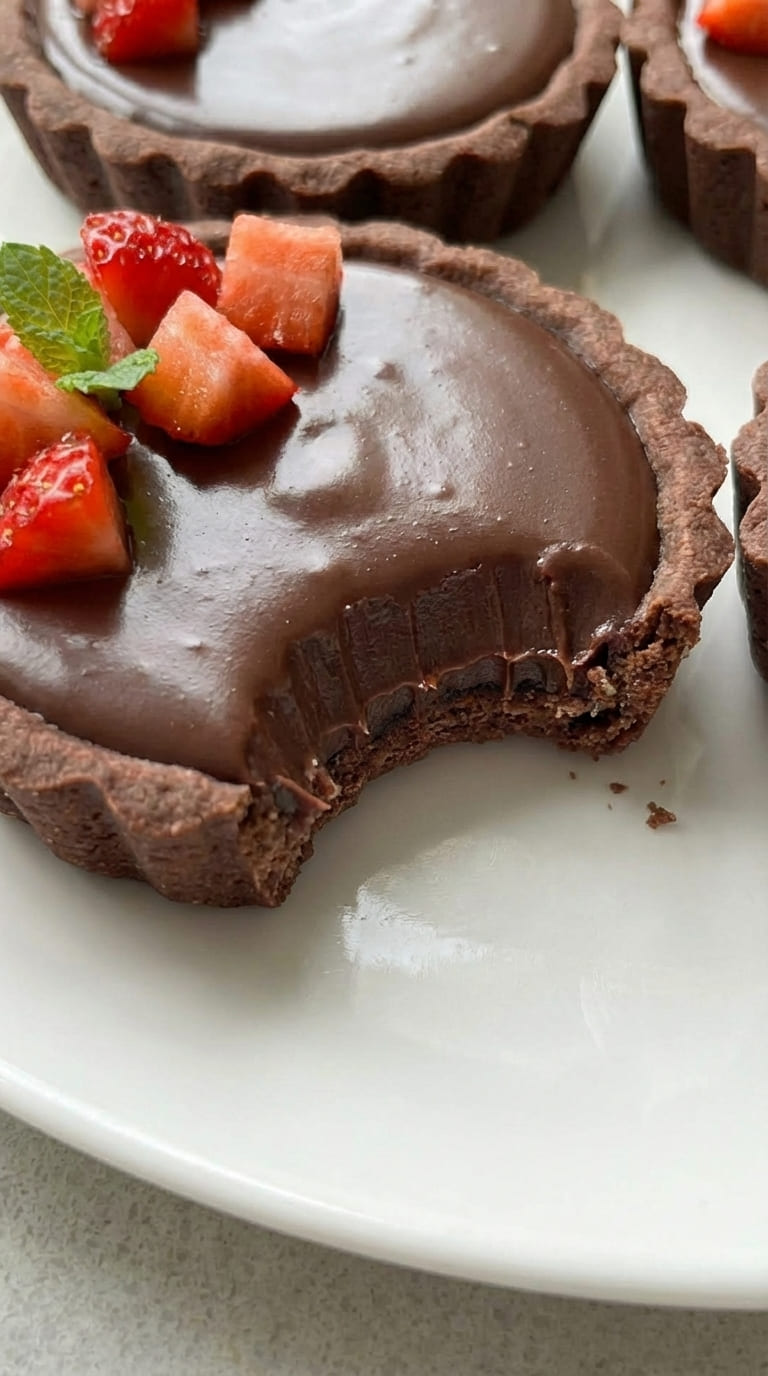
- These mini chocolate tarts are best kept in the fridge. However, I suggest removing them about an hour before serving. Allowing the ganache filling to reach room temperature will give it the best, fudgy texture.
- These desserts will stay fresh in the fridge for up to 3 days, but they are tastiest when served soon after the ganache has set, preferably within 24 hours. This ensures the pastry stays crunchy.
- Freezing these chocolate tartlets isn’t recommended. However, if you want to prepare them in advance, you can make the tart shells ahead and freeze them.
- While you could freeze them fully baked, for a better texture, freeze them raw and bake them as needed. Just add 5 minutes to the recommended baking time to allow for thawing in the oven.
Mini Chocolate Tarts Recipe – Chocolate Lovers’ Dream
Love chocolate? Be sure to check out these other delicious chocolate recipes!
Mini Chocolate Tarts Recipe – Chocolate Lovers’ Dream
Ingredients
Chocolate Tart Pastry
- 225 grams 1 1/2 cup Plain / AP Flour
- 20 grams 2 tables. Unsweetened Cacao Powder - sifted
- 50 gram 1/3 cup + 2 tablesp. Icing Sugar - or powdered sugar
- 1 pinch of Fine Salt
- 120 grams 1/2 cup Unsalted Butter - very cold
- 1 Egg - at room temperature
Chocolate Ganache Filling
- 200 gram 7 oz Dark Cooking Chocolate
- 200 ml 3/4 cup + 1 tbsp. Heavy / Thickened Cream
Instructions
Chocolate Tart Pastry
- In the bowl of your food processor, combine the flour, cacao powder, and icing sugar. Pulse the mixture to ensure it's well combined and free of any lumps.
- Add the very cold butter, which should be cut into small cubes, to the dry ingredients in the food processor. Pulse the mixture until it resembles fine crumbs.
- Once you have the crumbly texture, add the whisked egg to the mixture in the food processor. Pulse again until a sticky dough begins to form. You should be able to press the crumbs together, and they should stick.
- Gather the pastry dough into a disk shape and place it between two sheets of baking paper). Roll the dough out into a large circle, approximately 3mm (or 1/8 inch) thick.
- Transfer the rolled-out dough to the fridge and let it rest for at least 1 hour, or you can leave it for up to 24 hours to chill before using.
- Remove the baking paper from the pastry and use a round or fluted cookie cutter to cut out rounds of pastry dough. Gently place these pastry rounds into the openings of a muffin pan, lightly pressing the edges between the bottom and sides to remove any air bubbles. Use a fork to prick the bottom of each pastry round. Return the muffin pan to the fridge and let the pastry rest for at least 1 hour, or up to 24 hours.
- Preheat your oven to 160°C/325°F. While the oven is heating up, place the muffin pan with the pastry in the freezer to chill.
- Line each tartlet shell with a small piece of crumpled baking paper and fill them with baking weights, dry beans, or rice to prevent the pastry from puffing up during baking. Bake the tartlet shells in the preheated oven for 15 minutes. Then, remove the baking weights and baking paper and bake for an additional 15 minutes or until the pastry is fully baked. Allow the tartlet shells to cool completely before using them.
Chocolate Ganache Filling
- Chop the cooking chocolate finely and put it in a large heat-proof mixing bowl.
- In a small pot, heat the cream until it starts to simmer. Pour half of the hot cream over the chopped chocolate in the mixing bowl. Let it sit for 2 to 3 minutes without stirring. Then, using a stiff spatula, stir the mixture in small circular movements, starting from the center of the bowl and working your way towards the edges until it's combined (refer to note 4).
- Pour the remaining hot cream over the ganache (reheat it first if necessary) and stir again in circular movements until all the chocolate has melted. You should achieve a smooth, fluid, and shiny ganache.
- Immediately pour the ganache into the baked tartlet shells while it's still warm. Lightly tap each tartlet on a hard surface to eliminate any air bubbles. Then, place the tartlets in the fridge to set for at least 2 hours.

Mini Chocolate Tarts Recipe – Chocolate Lovers’ Dream