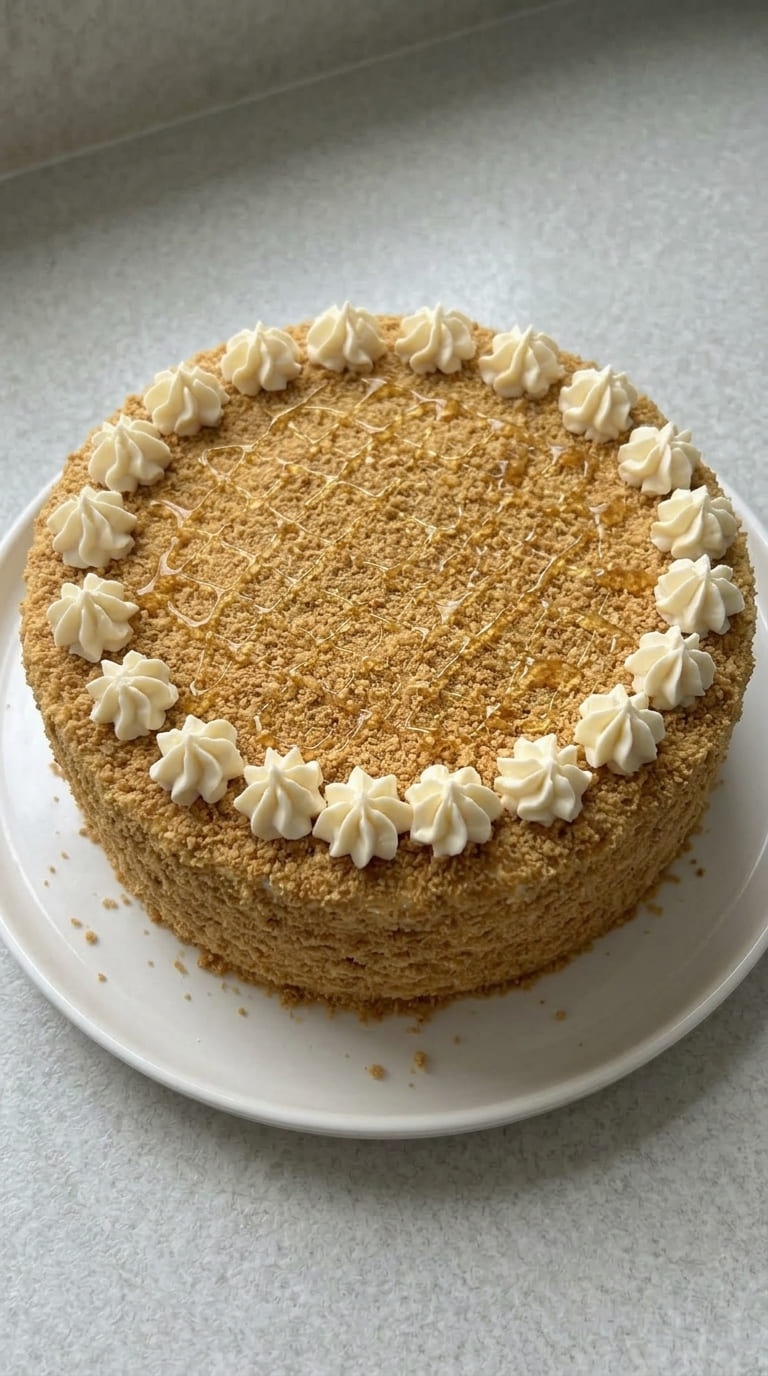
This Medovik, also known as Russian Honey Cake, is an elegant layered dessert made with delicate honey cake layers and a luscious sour cream frosting. Each thin layer is infused with warm honey flavor and softened by the creamy frosting, creating an exceptionally tender texture that practically melts in your mouth.
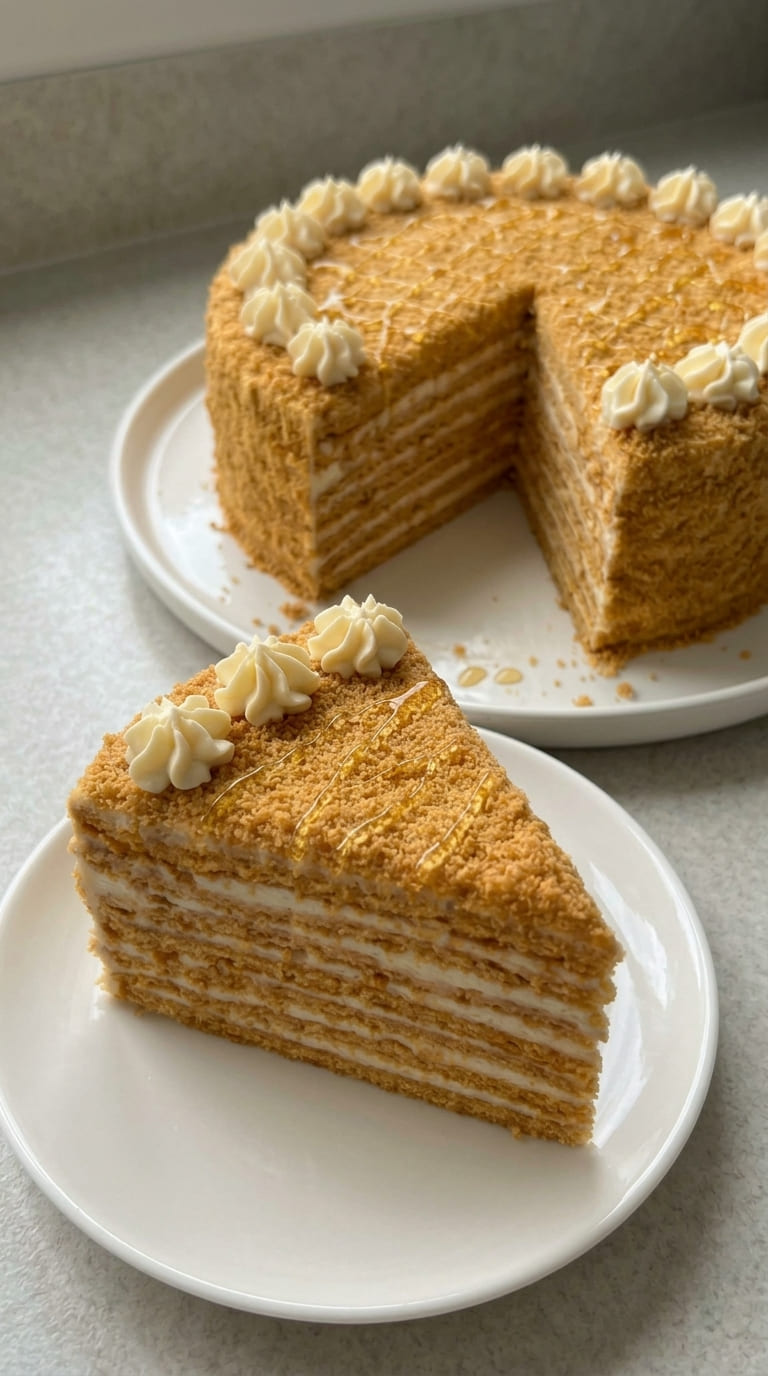
Easy Homemade Medovik Cake with Soft Honey Cake Layers
Although Medovik requires some patience, the result is a truly impressive homemade dessert with beautiful layers, rich honey flavor, and a luxurious cream filling. After resting overnight, the cake becomes wonderfully soft as the frosting absorbs into the layers, creating the signature melt-in-your-mouth texture that makes this classic so special.
Why This Medovik Is So Special
Delicate Honey Layers: Thin golden cake layers create an elegant texture and deep honey flavor.
Ultra-Soft Texture: Overnight chilling allows the sour cream frosting to soak into every layer.
Rich and Creamy Frosting: Sour cream and whipped cream create a smooth, lightly tangy contrast.
Authentic Layered Presentation: Multiple thin layers give this cake a sophisticated bakery-style appearance.
Make-Ahead Friendly: The flavor and texture improve significantly after resting overnight.
Perfect for Special Occasions: An impressive centerpiece for celebrations and dessert tables.
Perfect for Any Occasion
Medovik is perfect for birthdays, holidays, dinner parties, afternoon tea, family celebrations, and special gatherings. Its elegant appearance makes it an excellent choice when you want a memorable dessert with a sophisticated presentation. Serve chilled after the cake has had enough time to soften and absorb the frosting.
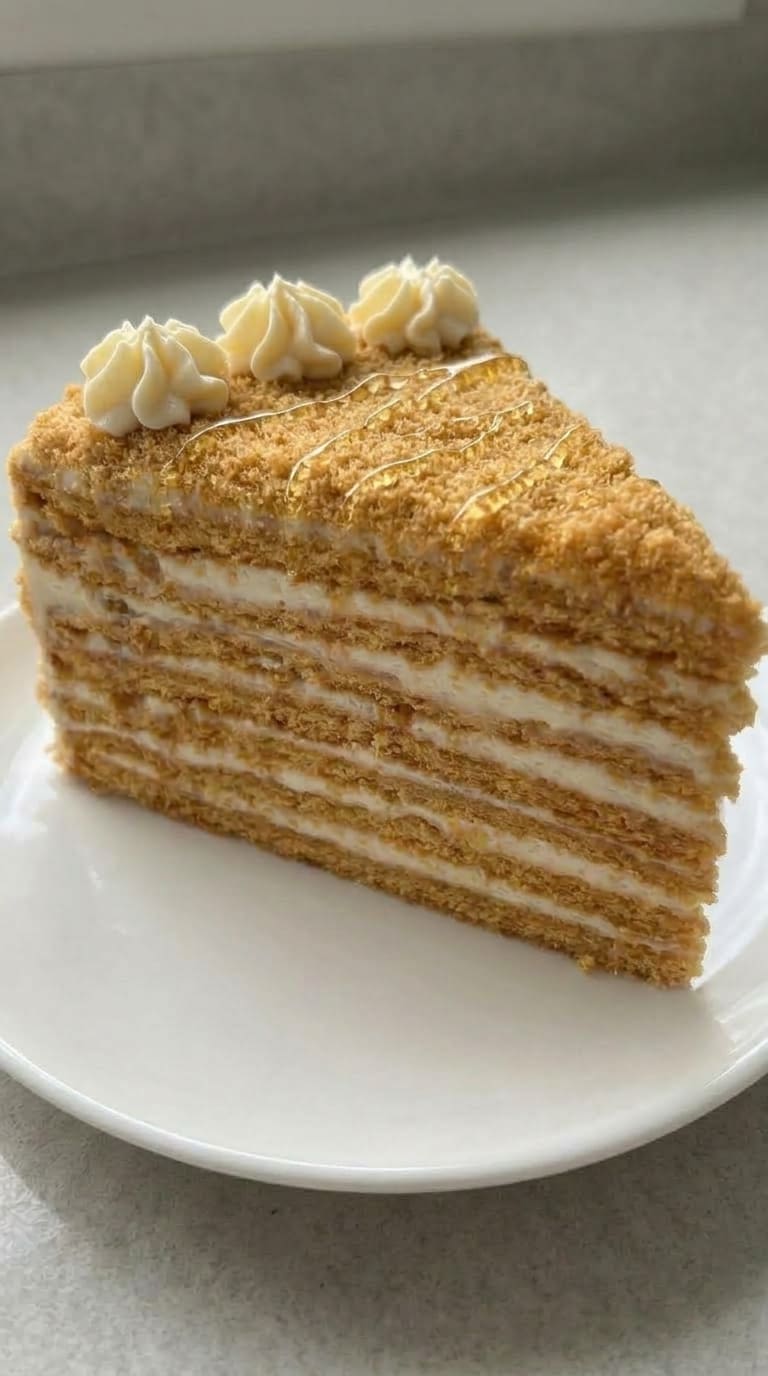
Easy Homemade Medovik Cake with Soft Honey Cake Layers
Ingredient Notes
Honey Cake Layers
Honey: Provides the signature floral sweetness and warm caramelized flavor.
Granulated sugar: Adds sweetness and helps create the delicate cake layers.
Unsalted butter: Adds richness and tenderness.
Eggs: Provide structure and help create the cake batter.
Baking soda: Helps the layers rise and contributes to their characteristic golden color.
All-purpose flour: Provides the structure needed for thin, rollable cake layers.
Sour Cream Frosting
Sour cream: Creates a creamy, slightly tangy frosting that balances the sweetness of the honey layers.
Powdered sugar: Sweetens the frosting while keeping it smooth.
Heavy whipping cream: Whipped to stiff peaks before being folded into the sour cream mixture for a lighter texture.
Tips for the Best Medovik
Work While the Dough Is Warm: Warm dough is much easier to roll into thin, even layers.
Measure the Flour Carefully: Too much flour can make the layers difficult to roll and less tender.
Roll Evenly: Aim for approximately 1/8-inch thickness for delicate layers.
Watch the Baking Time: Thin layers bake quickly, so remove them once they are golden.
Do Not Skimp on Frosting: The generous cream filling is essential for softening the layers.
Chill Overnight: This is one of the most important steps because the cake needs time to absorb the frosting.
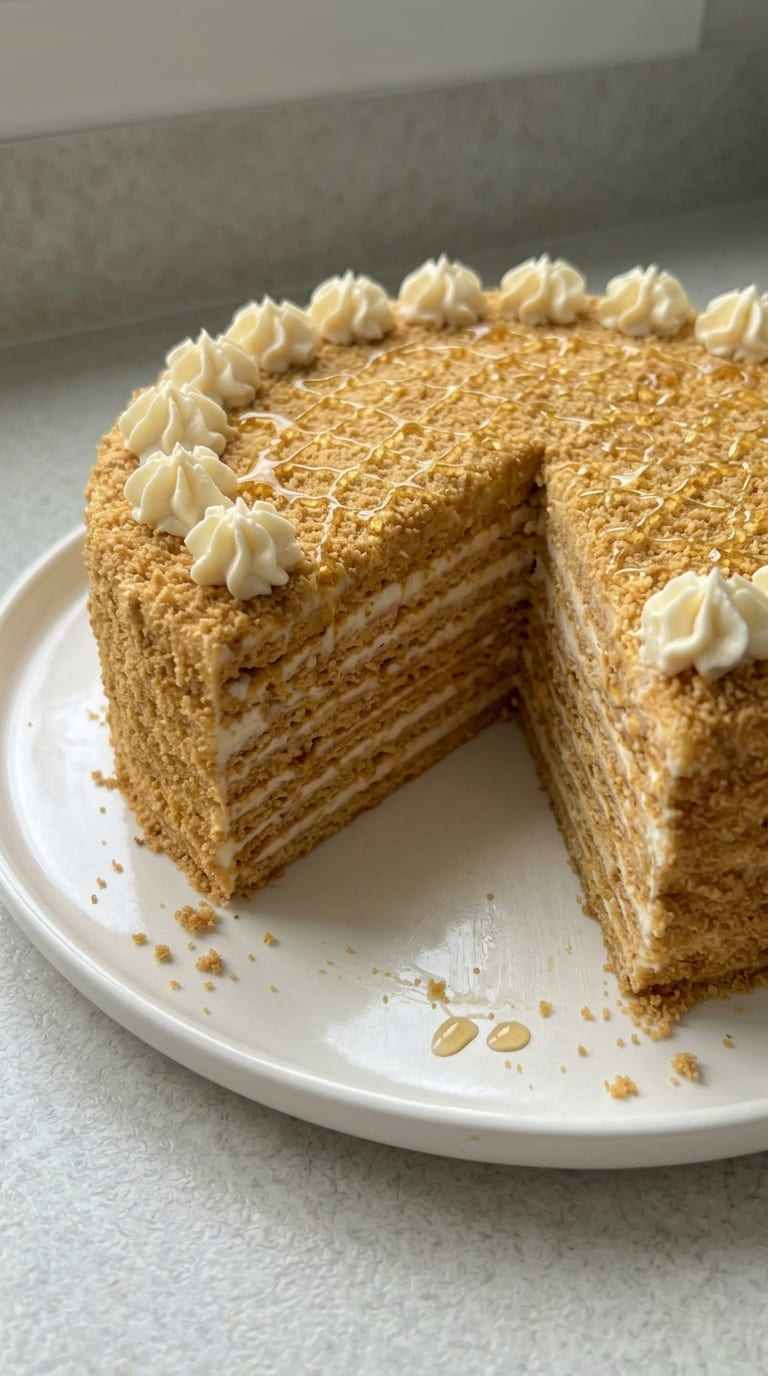
Easy Homemade Medovik Cake with Soft Honey Cake Layers
Serving Suggestions
Classic Honey Cake: Finish with fine cake crumbs pressed over the top and sides.
Elegant Dessert Plate: Serve chilled with fresh berries for a beautiful contrast.
Afternoon Tea: Pair with black tea, coffee, or espresso.
Holiday Dessert Table: Add alongside other layered cakes and elegant pastries.
Individual Slices: Cut cleanly and serve chilled for a sophisticated presentation.
A Must Try
This Medovik is a true celebration of simple ingredients transformed into an extraordinary dessert. With its delicate honey cake layers, creamy sour cream frosting, and signature crumb coating, every slice delivers incredible depth of flavor and an exceptionally soft texture. The overnight resting time is essential, but the reward is a luxurious, melt-in-your-mouth honey cake that is well worth the wait.
Easy Homemade Medovik Cake with Soft Honey Cake Layers
Ingredients
Cake Layers
- 85 g honey ¼ cup or 4 tbsp
- 150 g granulated sugar ¾ cup
- 28 g unsalted butter 2 tbsp
- 3 large eggs room temperature, beaten with a fork
- 5 g baking soda 1 tsp
- 375 g all-purpose flour 3 cups
Sour Cream Frosting
- 907 g sour cream 32 oz
- 240 g powdered sugar 2 cups
- 240 ml heavy whipping cream 1 cup
Instructions
How to Prepare the Cake Layers
- Place the sugar, honey, and unsalted butter in a medium saucepan. Set it over medium-low heat and warm gently, whisking from time to time, until the sugar has completely dissolved, about 5 to 7 minutes. Keep the heat gentle, as the sugar can easily scorch if the pan becomes too hot.
- Once the sugar has melted, take the saucepan off the heat. While the mixture is still hot, slowly pour in the beaten eggs in a thin, steady stream, whisking constantly and vigorously. Take your time with this step so the eggs blend smoothly rather than cooking in the hot mixture.
- Whisk in the baking soda until the mixture is completely smooth and free of lumps. Add the flour gradually, about ½ cup at a time, folding it in with a spatula. Continue until you have a soft dough with a clay-like consistency that no longer clings to your hands. The full 3 cups of flour should be enough when measured carefully, with the excess flour scraped level from the top of each cup.
- Divide the dough into 8 equal portions. Begin rolling them right away while the dough is still warm, as warm dough is much easier to work with.
- Lightly flour your work surface and roll each portion into a very thin 9-inch circle, approximately 1/8 inch thick. If the dough begins sticking to the rolling pin, dust the surface lightly with a little more flour.
- Place a 9-inch plate or the base of a springform pan over the rolled dough and carefully cut around it with a pizza cutter to create an even circle. Keep all the leftover dough pieces, as they will be used later for the cake crumbs.
- Move each circle onto a large piece of parchment paper. Bake two layers at a time at 350°F for approximately 4 to 5 minutes, or until they turn a lovely golden color. Transfer the baked layers to a wire rack and allow them to cool completely before stacking them. Continue until all 8 layers are baked.
- Spread the reserved dough scraps evenly over a reused sheet of parchment paper and bake them as well. Once they are completely baked, cooled, and firm, crush them with a rolling pin or pulse them in a food processor until you have fine crumbs.
How to Make the Frosting
- Pour the heavy cream into a bowl and whip it on high speed for about 1 to 2 minutes, until it becomes light, fluffy, and forms stiff peaks.
- In another bowl, whisk together the sour cream and powdered sugar until smooth. Gently fold the whipped cream into the sour cream mixture until the frosting is evenly combined.
- Place the frosting in the fridge until you are ready to assemble the cake.
How to Assemble the Cake
- Place the first cake layer on your serving surface and spread approximately 1/3 cup of frosting over it. The frosting will be fairly loose, but be generous with it. These thin layers need plenty of cream to soak in, which is what gives the finished cake its wonderfully soft texture.
- Continue layering the cake and frosting, gently pressing each layer down as you work. This helps remove any large air pockets between the layers. Once all the layers are stacked, use the remaining frosting to cover the top and sides of the cake.
- Finish by sprinkling the fine cake crumbs over the entire top and sides. Cover the cake with plastic wrap and place it in the fridge overnight.
- Do not be tempted to rush this final step. The cake needs several hours to absorb the creamy frosting and soften properly. By the next day, those crisp layers will have transformed into a wonderfully tender, delicate cake.
Tips for Success
- As one batch of layers is baking, continue rolling out the next ones. This keeps the process moving and means the total baking time for all the layers should be around 25 minutes.
- If a few layers puff up or form bubbles while baking, do not worry. The frosting will cover them beautifully. If you notice a particularly large bubble, gently press it down after removing the layer from the oven.
- You can reuse the parchment paper between batches, which is a simple way to save a little waste.
- If your baking sheet is not large enough to hold the parchment paper, you can place the parchment directly on the oven rack and bake the layers that way.
Easy Homemade Medovik Cake with Soft Honey Cake Layers