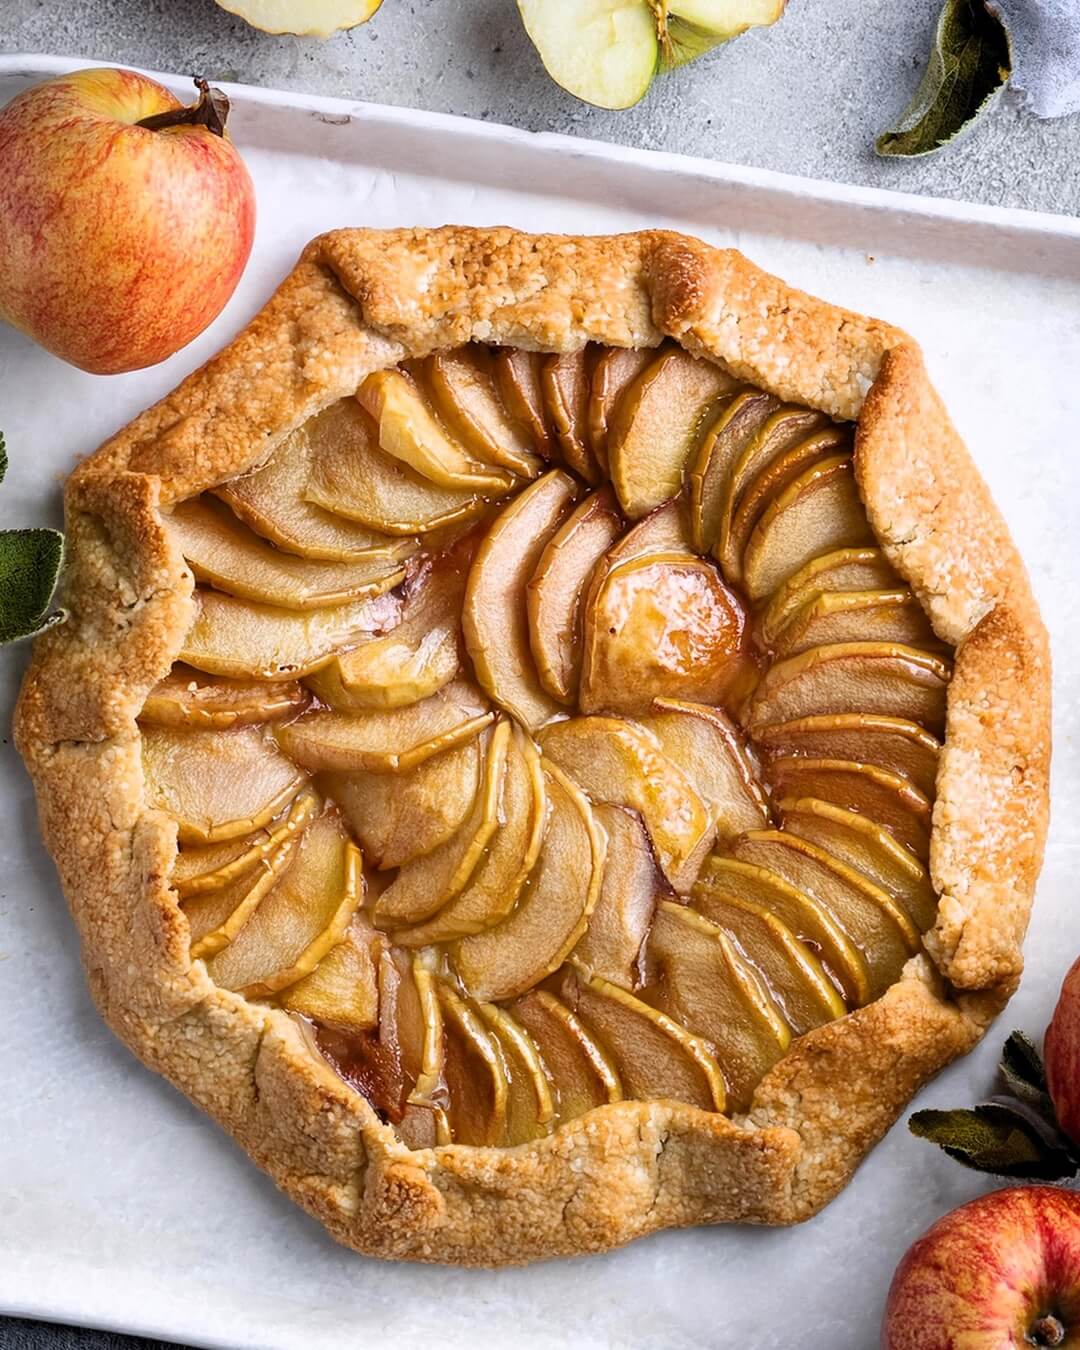
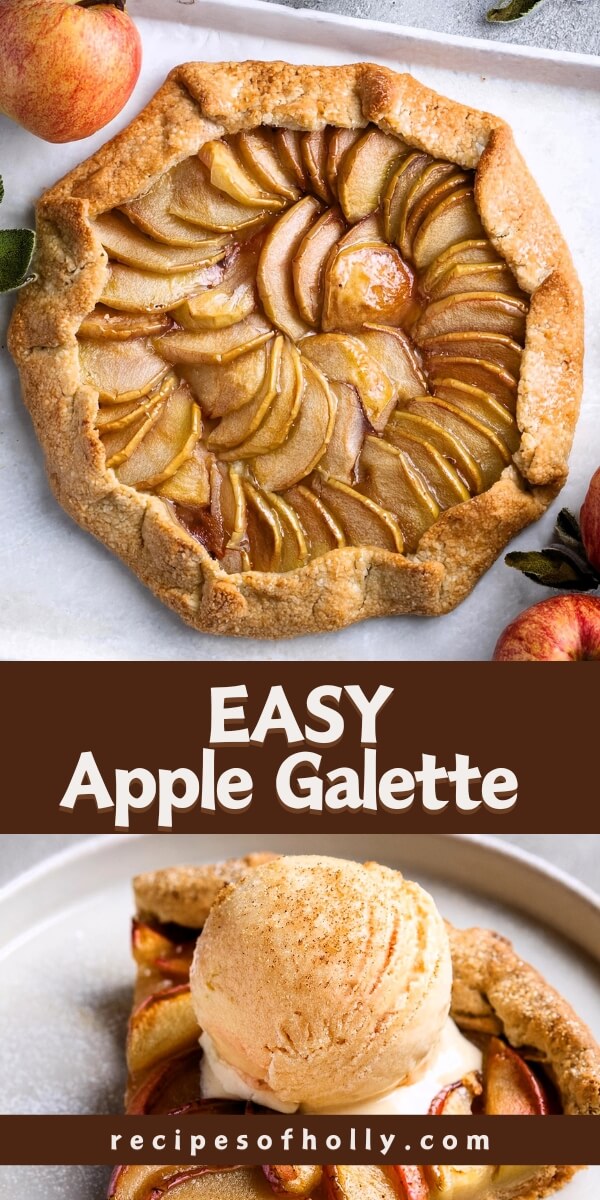
Apple Galette is a beautifully rustic and simple dessert that showcases the natural sweetness of apples. This free-form tart features a flaky pastry crust folded over thinly sliced, glazed apples arranged in a circular pattern. Perfect for special occasions, holidays, or any time you crave a homemade treat, this galette is sure to impress.

Apple Galette
Why This Apple Galette Is the Best
- Rustic Appeal: The free-form nature of the galette gives it a charming, rustic appearance that is both elegant and inviting.
- Flaky Crust: The pastry crust is perfectly flaky and buttery, providing a delightful contrast to the tender apple filling.
- Natural Sweetness: The apples are glazed and slightly sweetened, highlighting their natural flavor without overpowering it.
- Beautiful Presentation: The arranged apple slices and golden-brown crust make this dessert visually stunning and perfect for any occasion.
Perfect for Any Occasion
Whether you’re celebrating a holiday, hosting a dinner party, or simply treating yourself, Apple Galette is the perfect choice. The combination of a flaky crust, tender apples, and rustic presentation makes it a crowd-pleaser that everyone will enjoy.
Ingredient Notes
Crust:
- All-Purpose Flour: Forms the structure of the galette crust, ensuring a tender and flaky base.
- Unsalted Butter: Adds richness and flakiness, crucial for a perfect pastry.
- Ice Water: Helps bind the dough without melting the butter, maintaining its flakiness.
Filling:
- Baking Apples: Provide a soft yet slightly crisp texture and a naturally sweet-tart flavor when baked.
- Granulated Sugar and Cinnamon: Add sweetness and a warm, spiced aroma that complements the apples.
- Butter: Enhances the filling’s richness while creating a lightly caramelized glaze.
Finish:
- Egg Wash: Gives the crust a golden, shiny finish when baked.
- Turbinado Sugar: Adds a slight crunch and a touch of sweetness to the crust.
- Honey (optional): Provides a glossy finish and a hint of fruity sweetness.
Tips for Making the Best Apple Galette
- Use Fresh Apples: For the best flavor, use fresh, high-quality apples. Varieties like Granny Smith, Honeycrisp, or Fuji work well.
- Chill the Dough: Ensure the pastry dough is well-chilled before rolling it out to achieve the flakiest crust.
- Arrange Apples Neatly: Take the time to arrange the apple slices neatly in a circular pattern for a beautiful presentation.
- Glaze Generously: Brush the apples and crust with a light glaze of melted butter and sugar for added shine and flavor.
- Bake Evenly: Bake the galette until the crust is golden brown and the apples are tender.
Serving Suggestions
- With a Scoop of Ice Cream: Serve Apple Galette with a scoop of vanilla ice cream for an indulgent dessert.
- With Whipped Cream: Add a dollop of whipped cream for extra richness and flavor.
- With a Dusting of Powdered Sugar: Finish with a light dusting of powdered sugar for a classic touch.
- With Fresh Berries: Garnish with fresh berries for a pop of color and additional freshness.
- With a Drizzle of Caramel Sauce: Drizzle with caramel sauce for a decadent touch.
A Must Try
Imagine biting into a slice of this Apple Galette—each bite offering a perfect blend of flaky pastry, tender apples, and a hint of sweetness. Perfect for sharing with family and friends, this galette is sure to bring joy to any occasion. So, gather your ingredients and bake this delightful dessert to impress your loved ones and create sweet, memorable moments together!
Be sure to check out these other delicious apple recipes!

Easy Apple Galette Recipe
Ingredients
Crust
- 1 1/2 cups 214 gram unbleached all-purpose flour (scoop and level to measure)
- 1 tablespoon 11 gram granulated sugar
- 10 tablespoon 142 gram unsalted butter, cut into 1/2-inch cubes
- 4 to 5 tablespoon ice water
- 1/4 teaspoon salt
Filling
- 1 1/2 lbs 3 large baking apples
- 1/4 cup 50 gram granulated sugar
- 1/2 teaspoon ground cinnamon
- 2 tablespoon 28 gram unsalted butter, diced into 1/4-inch cubes
Finish
- 1 large egg + 1/2 tablespoon water
- 1 tablespoon 11 g turbinado sugar or sparkling sugar
- 1 tablespoon honey
Instructions
- In a large bowl, combine the flour, sugar, and salt by whisking them together.
- Add 10 tablespoons of butter, cut into cubes, and use a pastry blender to mix it into the dry ingredients until small pea-sized clumps of butter remain (a few larger pieces are okay).
- Gradually drizzle in 1 tablespoon of ice water at a time, tossing the mixture immediately after each addition. Add just enough water for the dough to form larger clumps. Turn the dough out onto a clean surface and gently knead it a few times until it comes together.
- Shape the dough into an even disk, roughly 5 to 6 inches wide. Wrap it in plastic wrap and refrigerate for 30 to 60 minutes.
- Preheat your oven to 375°F and line a rimmed 18x13-inch baking sheet with parchment paper.
- Take the dough out of the fridge lightly flour the top, and roll it out on a generously floured surface into a round about 13.5 inches in diameter.
- Fold the dough in half, then fold it again to form a quarter. Place it onto the parchment-lined baking sheet with the folded corner positioned at the center, then carefully unfold it so it extends up the sides of the pan—it’s fine if it overlaps. Transfer the pan to the fridge.
- Peel, core, and cut the apples in half, then slice them thinly to about 1/6-inch thick (if using Golden Delicious, slice to 1/4-inch thick).
- Place the apples in a large mixing bowl, sprinkle with 1/4 cup sugar and cinnamon, and toss until evenly coated.
- Arrange the apple slices in a circular pattern over the crust, leaving about a 2-inch border around the edges.
- Fold the edges of the dough up over the apples, starting at one point and working your way around the circle, making a fold approximately every 3 inches.
- In a mixing bowl, whisk the egg with water, then use a pastry brush to coat the edges of the pie crust. Sprinkle the crust edges with turbinado sugar and dot the apples with the remaining 2 tablespoons of butter.
- Bake in the preheated oven for 40 to 50 minutes, or until the apples are tender. Once removed from the oven, let it cool slightly before serving.
- Allow it to cool for about 10 minutes. If desired, brush the top with honey before slicing. Serve with vanilla ice cream for an extra treat.
Pin this delicious recipe on Pinterest to save and share with your foodie friends!

Apple Galette