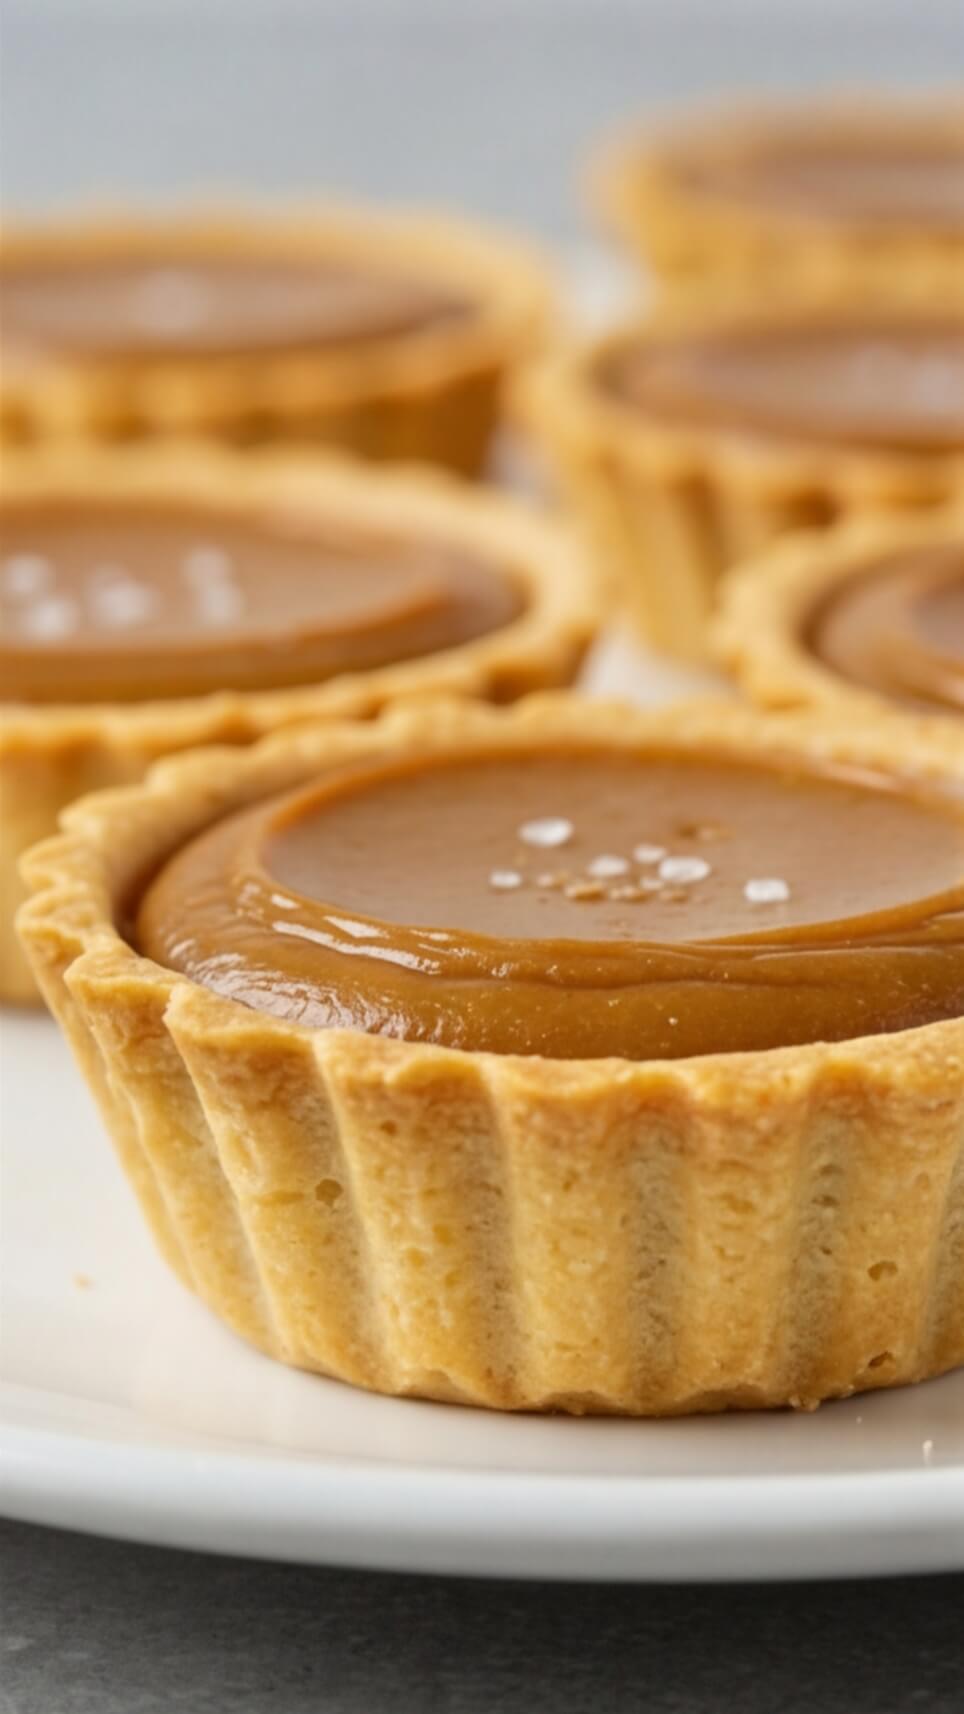
Mini Butterscotch Tarts are a delightful and indulgent treat that combines a buttery, flaky crust with a rich and creamy butterscotch filling. Perfect for any special occasion or as a delightful dessert, these mini tarts offer a combination of textures and flavors that are sure to impress.
Mini Butterscotch Tarts – Rich, Buttery & Bite-Sized Perfection
Why These Mini Butterscotch Tarts Are the Best
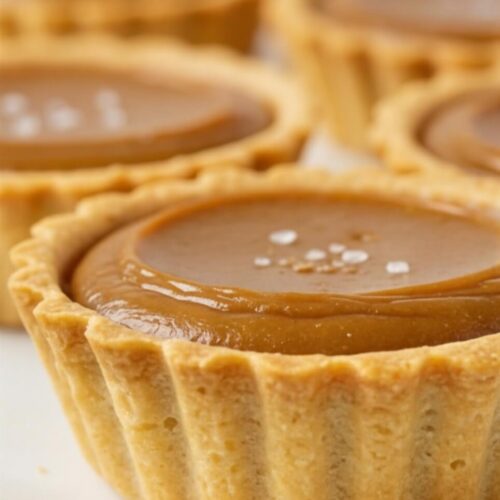
- Rich Butterscotch Filling: The tarts are filled with a smooth and creamy butterscotch filling that provides a rich, caramel-like flavor.
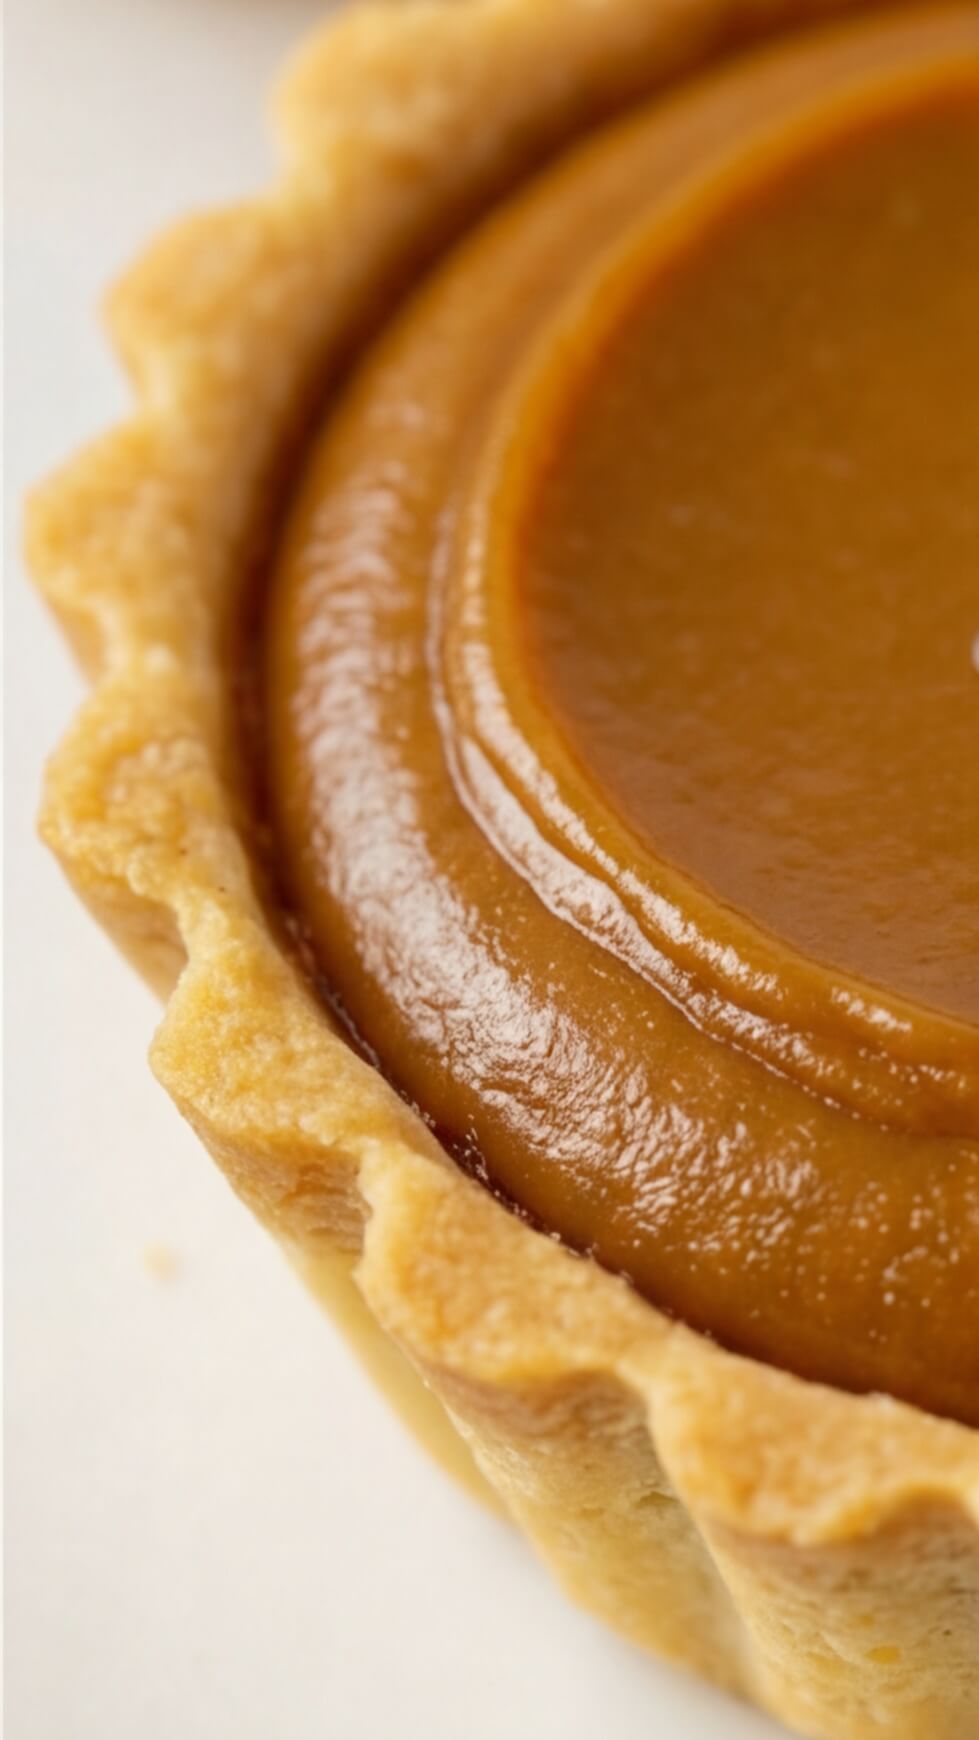
- Buttery, Flaky Crust: The crust is perfectly buttery and flaky, adding a satisfying crunch to each bite.
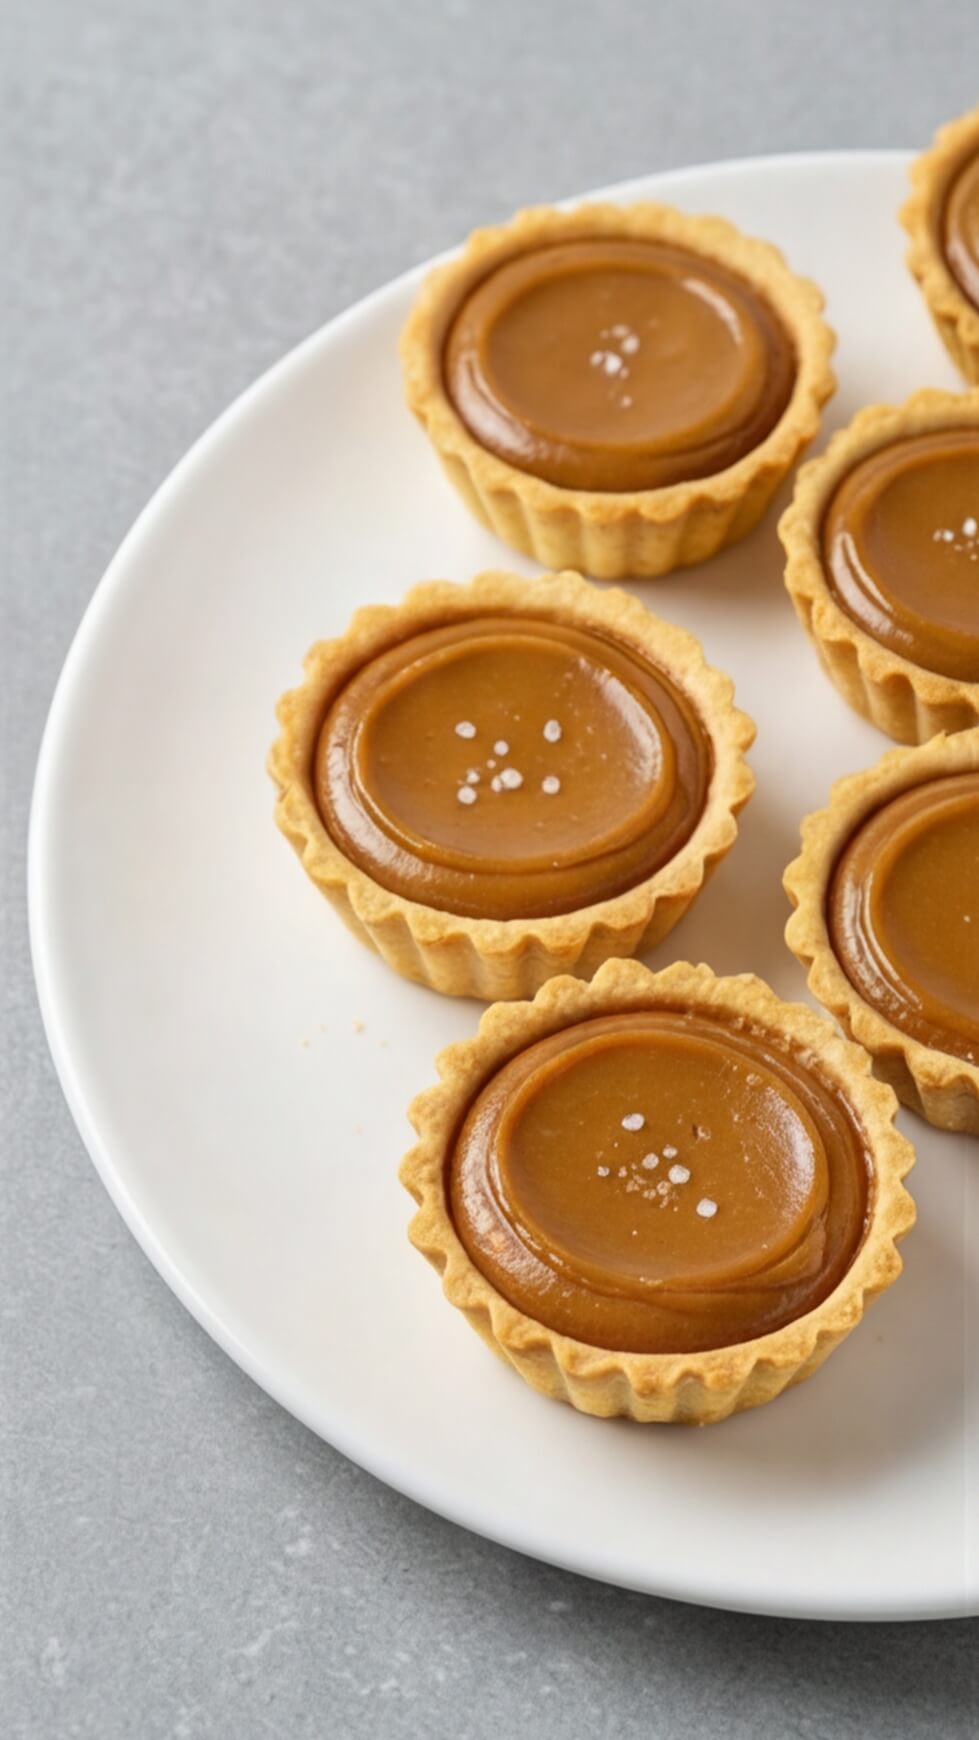
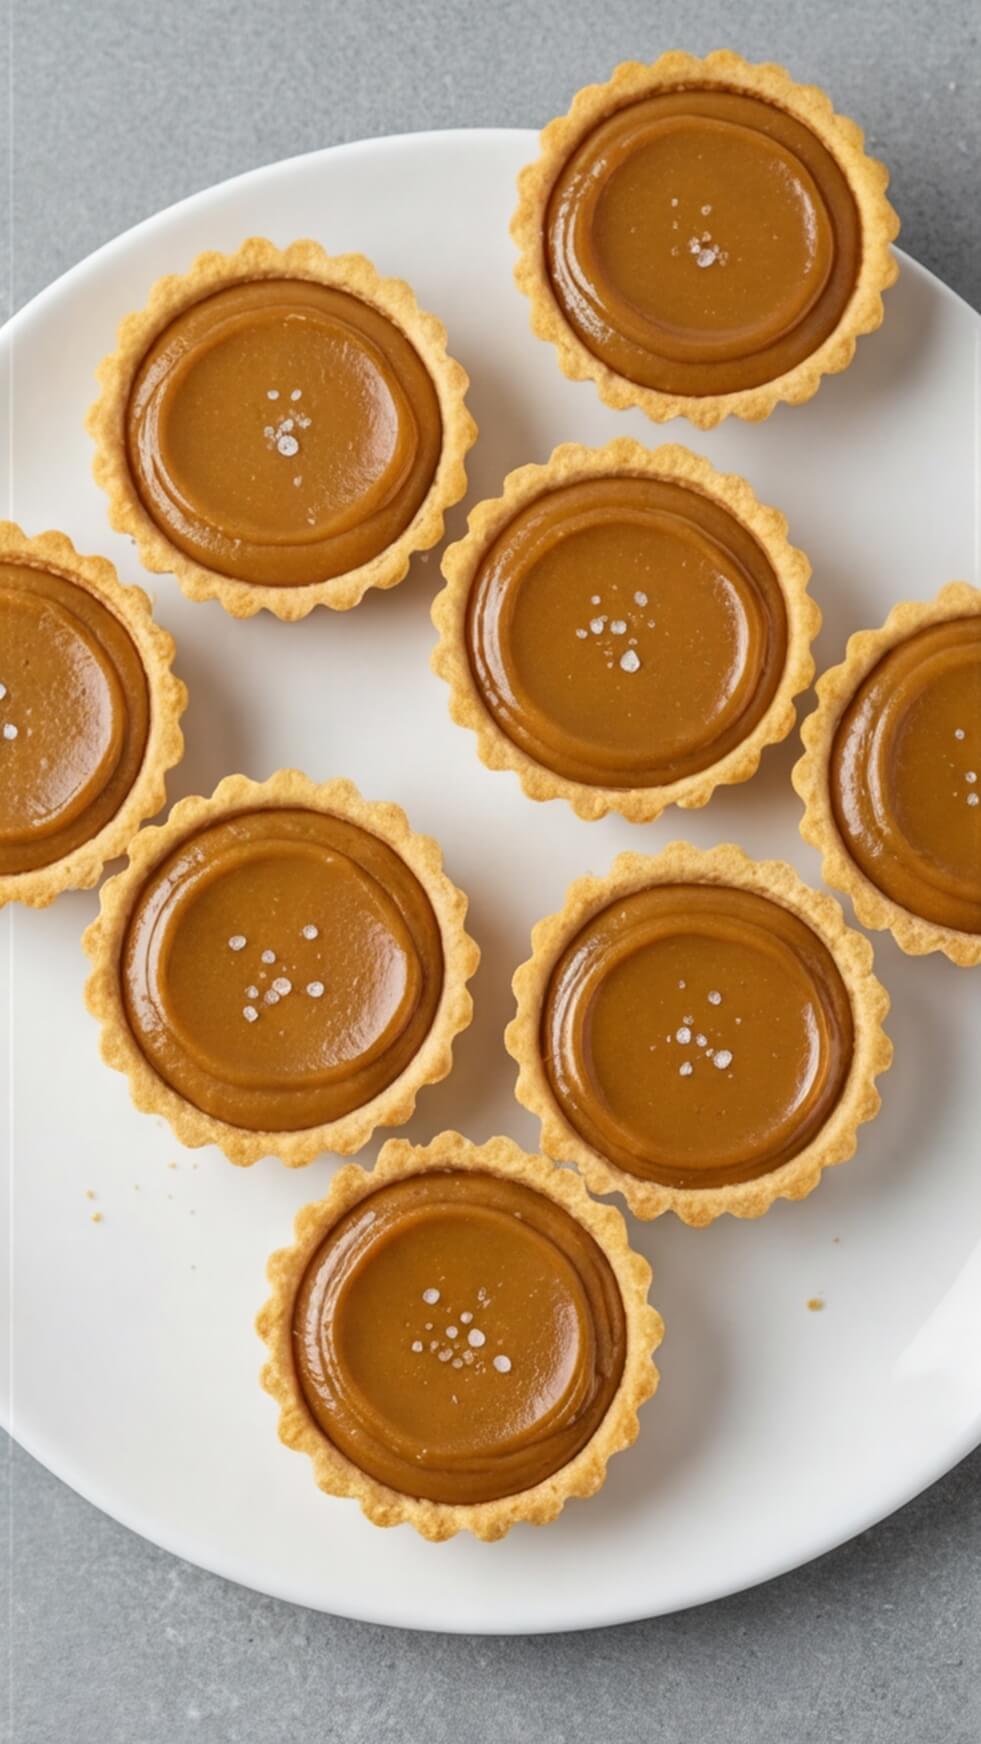
- Beautiful Presentation: The tarts have a glossy, caramel-colored filling and are arranged on a white plate, making them visually appealing and perfect for any occasion.
- Individual Portions: These mini tarts are perfect for serving individual portions, making them easy to share and enjoy.
Perfect for Any Occasion
Whether you’re hosting a party, celebrating a special event, or simply enjoying a sweet treat, Mini Butterscotch Tarts are the perfect choice. The combination of rich butterscotch filling, buttery crust, and beautiful presentation makes them a crowd-pleaser that everyone will love.
Mini Butterscotch Tarts – Rich, Buttery & Bite-Sized Perfection
Ingredient Notes
Shortcrust Pastry:
Flour, Icing Sugar & Salt: The perfect blend for a lightly sweet, crisp, and tender tart shell.
Butter: Ice-cold and cubed to create a flaky, melt-in-your-mouth texture.
Egg: Binds the dough together for a smooth, workable consistency.
Butterscotch Filling:
Brown Sugar & Butter: The rich, caramel-like base for the luscious butterscotch filling.
Heavy Cream: Adds silkiness and a creamy depth to the sauce.
Vanilla & Sea Salt: Enhances the warm, buttery flavor with a perfect balance of sweet and salty.
Tips for Making the Best Mini Butterscotch Tarts
- For best results, I recommend using a rolling pin with thickness rings to ensure an even roll throughout the pastry. If you’re unsure about the size of your cookie cutter, start by cutting one disk and lining it inside the muffin pan. This way, you can check if you need a wider cutter depending on how deep you want the tartlets to be.
- Remember, the larger the crumbs, the flakier the pastry. However, for this recipe, we want to avoid too much flakiness to keep the tart cases from puffing up too much.
- If the pastry feels a bit hard straight out of the fridge, let it sit at room temperature for a few minutes. If it becomes too soft and starts to break, just pop it back in the fridge for a few minutes to firm up.
- When making the butterscotch sauce, it might look like the mixture has split—that’s normal! The butter and sugar will appear separate, but don’t worry, it’ll all come together in the next step.
- Using warm cream is a great trick to avoid crystallizing the sugar and to keep the mixture from splashing. Trust me, it’ll save you from burns!
- The butterscotch filling will seem quite thin and liquidy at first, but that’s completely fine. It will thicken as it cools, giving you that smooth, rich texture you’re after!
Mini Butterscotch Tarts – Rich, Buttery & Bite-Sized Perfection
Serving Suggestions
- With a Cup of Tea or Coffee: Enjoy a Mini Butterscotch Tart with a hot cup of tea or coffee for a perfect afternoon treat.
- With Fresh Berries: Serve with fresh berries for a burst of flavor and color.
- With a Scoop of Ice Cream: Add a scoop of vanilla or caramel ice cream for an indulgent dessert.
- With a Dusting of Powdered Sugar: Finish with a light dusting of powdered sugar for a classic touch.
- With a Dollop of Whipped Cream: Serve with a dollop of whipped cream for extra richness and flavor.
A Must Try
Imagine biting into one of these Mini Butterscotch Tarts—each bite offering a perfect blend of rich butterscotch filling and buttery, flaky crust, all topped with a glossy, caramel-colored finish. Perfect for sharing with family and friends, these tarts are sure to bring joy to any occasion. So, gather your ingredients and bake these delightful treats to impress your loved ones and create sweet, memorable moments together!
Be sure to check out these other delicious recipes!
Mini Butterscotch Tarts – Rich, Buttery & Bite-Sized Perfection
Ingredients
Shortcrust Pastry
- 250 gram Plain / All-Purpose Flour
- 50 gram Icing Sugar
- 1 pinch Salt
- 120 gram Unsalted Butter very cold cubed
- 1 large Egg
Butterscotch Filling
- 250 gram Brown Sugar
- 90 gram Unsalted Butter
- 120 ml Thickened / Heavy Cream warm
- 1 tsp Vanilla Paste or vanilla extract
- 1 tsp Sea Salt
Instructions
Shortcrust Pastry
- Add the plain flour, icing sugar, and salt to the bowl of your food processor. Give it a few quick pulses to combine everything. Next, toss in the very cold, cubed butter and blend until the mixture turns into fine, sandy crumbs—this is the secret to a perfectly tender texture!
- Crack in the egg and mix until the dough starts to come together. To check if it's ready, grab a small handful and press it in your palm—if it holds its shape, you're good to go! If it still feels too dry and crumbly, add a few drops of ice-cold water and mix again until you achieve that perfect consistency.
- Gather the dough into a ball and place it between two large sheets of baking paper. Use a rolling pin to roll it out into a smooth, even disk about 4mm (1/8 inch) thick. Transfer it onto a flat tray and let it chill in the fridge for at least an hour—or, if you’re planning ahead, you can leave it for up to 24 hours.
- Once the dough is nicely chilled, peel off the baking paper and use a round or fluted cookie cutter to cut out small pastry disks, making sure they’re at least as wide as the openings of your muffin cups. Gather any leftover dough, roll it out again, and refrigerate for another 2 hours before cutting out more tart shells. No dough goes to waste!
- Carefully place each pastry disk into the muffin pan, gently pressing it down to fit snugly. Make sure there are no air bubbles by lightly pressing into the corners so the dough fully touches the pan on all sides. To ensure the pastry holds its shape, gently push the sides against the pan.
- Pop the pan back into the fridge and let the pastry chill and rest for at least an hour—though if you have the time, letting it sit overnight will give you the best results!
- Preheat your oven to 160°C (325°F). Take the chilled pastry and gently prick the bottoms with a fork to prevent air pockets from forming. Pop the pan into the freezer while the oven finishes preheating—this helps the pastry hold its shape while baking.
- Once ready, place a crumpled piece of baking paper over each crust and fill them with pie weights, dried beans, or rice to keep them from puffing up. Now they’re all set for a perfectly crisp and even bake!
- Bake the pastry shells for 15 minutes, then carefully remove the baking paper and weights. Return them to the oven and bake for another 12 to 15 minutes, or until they’re fully baked and feel dry to the touch. Once done, transfer the pan to a wire rack and let the crusts cool completely before filling them with your toppings!
Butterscotch Filling
- Pour the cream into a small bowl and heat it in the microwave for 30 seconds to 1 minute, just until warm. Set it aside for later.
- In a small saucepan, add the brown sugar and cubed butter. Set the heat to low-medium and let everything melt together, stirring occasionally. Once fully melted, allow it to gently simmer for a couple of minutes.
- Carefully pour the warm cream into the melted brown sugar mixture—be cautious, as it may bubble up! If the cream has cooled, give it a quick reheat before adding it. Stir well with a heat-proof spatula until the mixture is silky smooth, then let it cook for another 2 minutes on low-medium heat, stirring occasionally.
- Stir in the salt and vanilla paste, mixing until fully combined. Let the sauce simmer gently for 3 to 5 minutes on low-medium heat, allowing it to thicken slightly.
- Carefully pour the hot butterscotch sauce into a clean pouring jug—watch out, it’ll be very hot! Pour the warm sauce into the baked tartlet crusts right away. Give each tart a gentle tap against a hard surface to release any air bubbles and ensure a smooth, even top.
- Transfer the tarts to the fridge and let them chill for at least 2 hours, or until you're ready to serve. The longer they chill, the thicker and more set the filling will become, so feel free to let them rest overnight for the best texture!
Pin this delicious recipe on Pinterest to save and share with your foodie friends!
Mini Butterscotch Tarts – Rich, Buttery & Bite-Sized Perfection