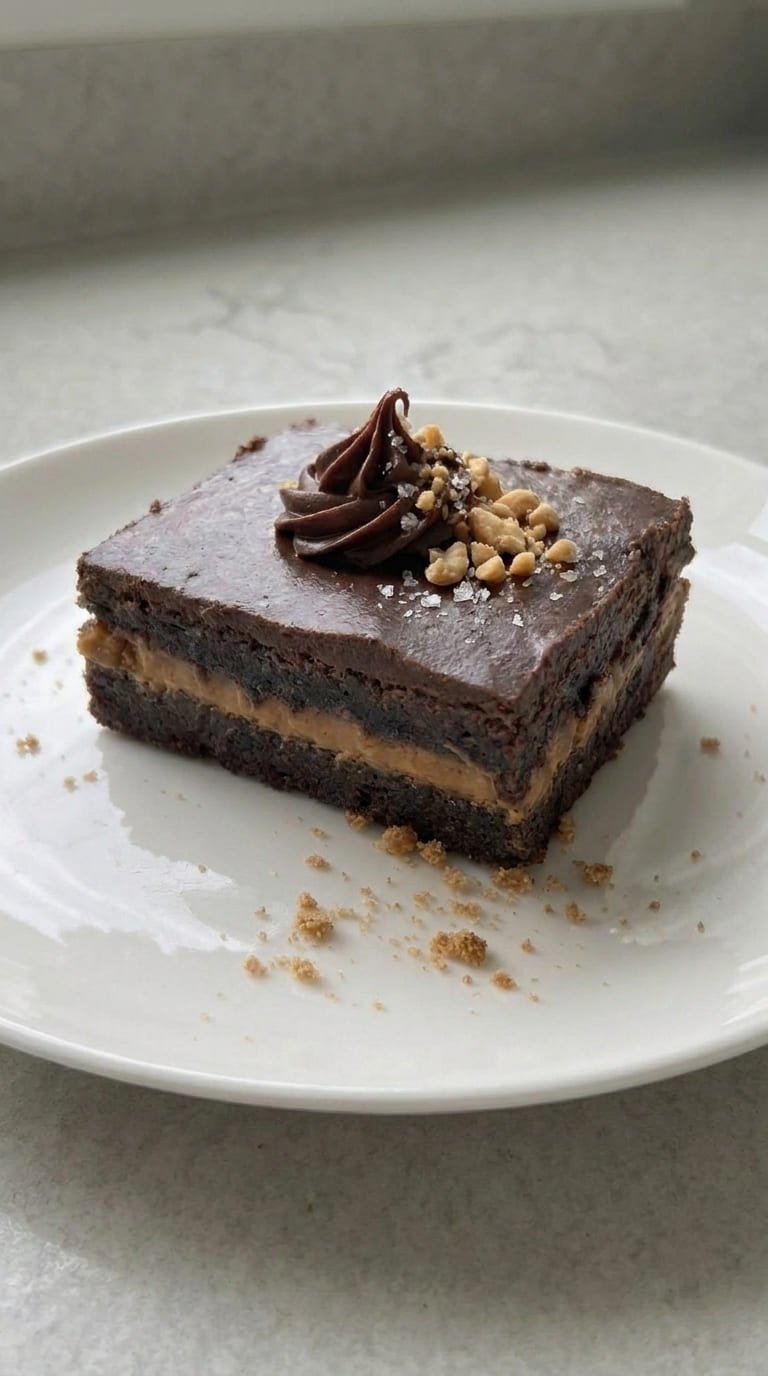
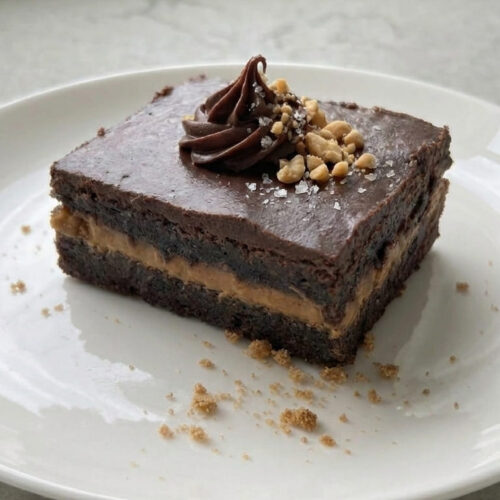
These Biscoff Brownies are the ultimate indulgence for cookie butter lovers, featuring an incredibly fudgy chocolate brownie base with a thick layer of creamy Biscoff spread baked right in the center. Topped with crunchy pieces of Lotus Biscoff cookies, these brownies deliver an irresistible combination of rich chocolate, caramelized cookie butter, and satisfying crunch in every bite.
Biscoff Brownies Recipe, Ultra Fudgy with a Gooey Cookie Butter Center
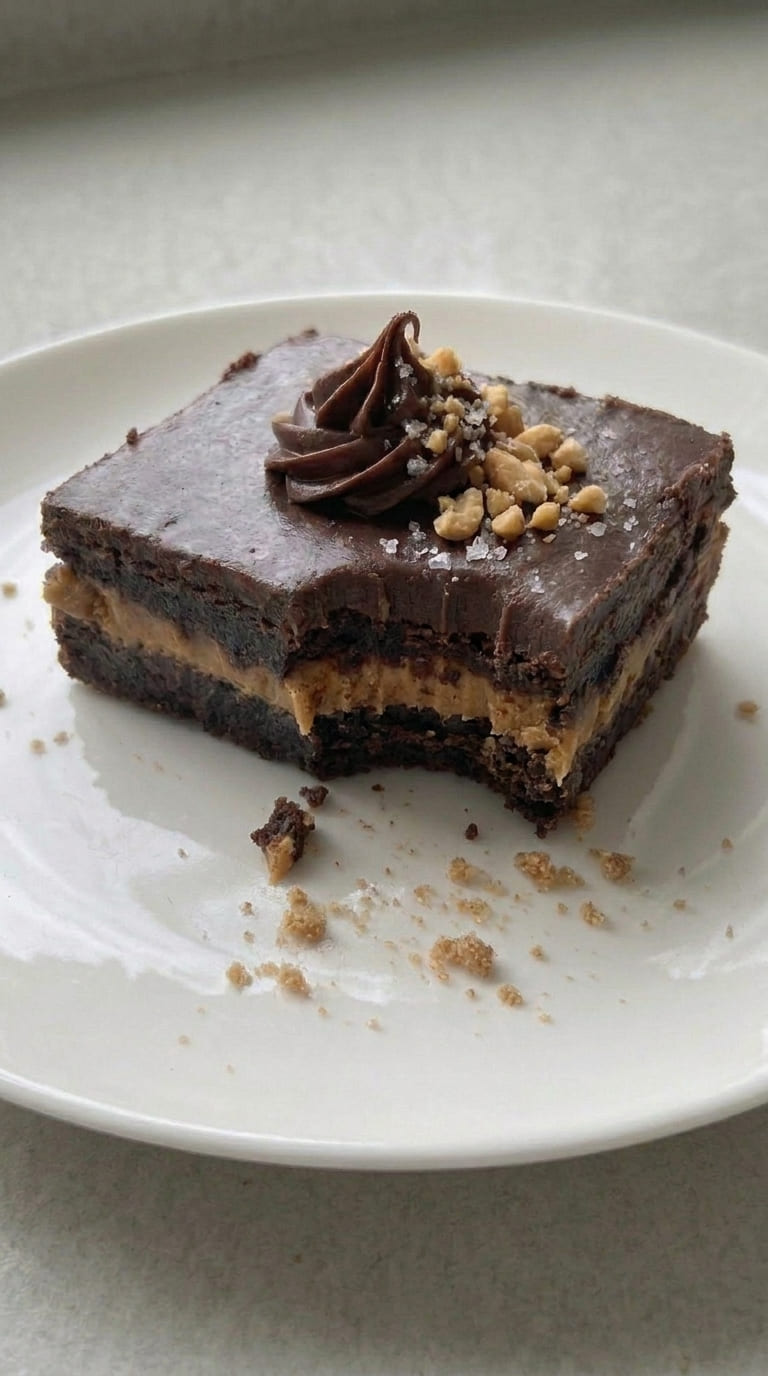
Made with cocoa powder, melted butter, brown sugar, and real chocolatey richness, these homemade brownies have a dense, chewy texture with a perfectly fudgy center. The frozen Biscoff layer melts into a luscious filling as the brownies bake, creating a bakery-style dessert that looks impressive and tastes even better.
Why These Biscoff Brownies Are So Irresistible
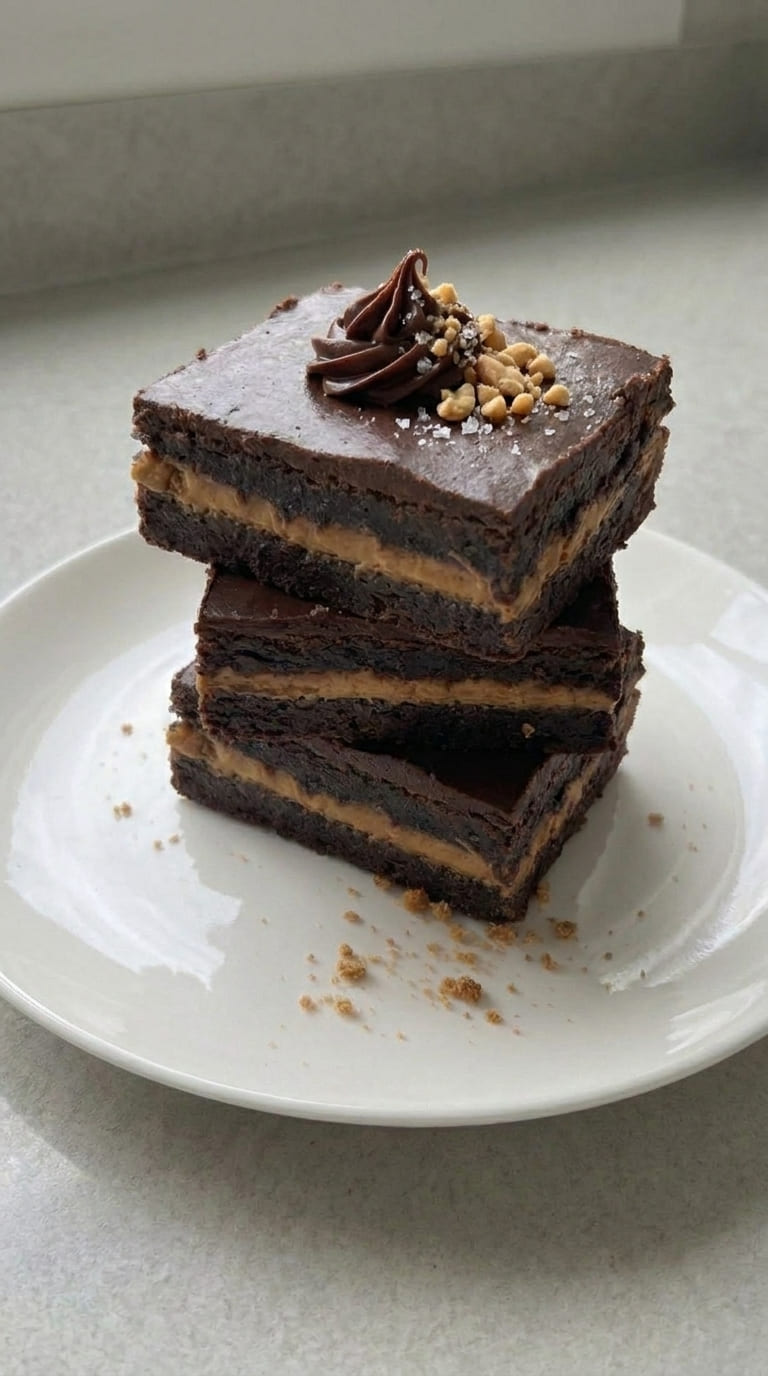
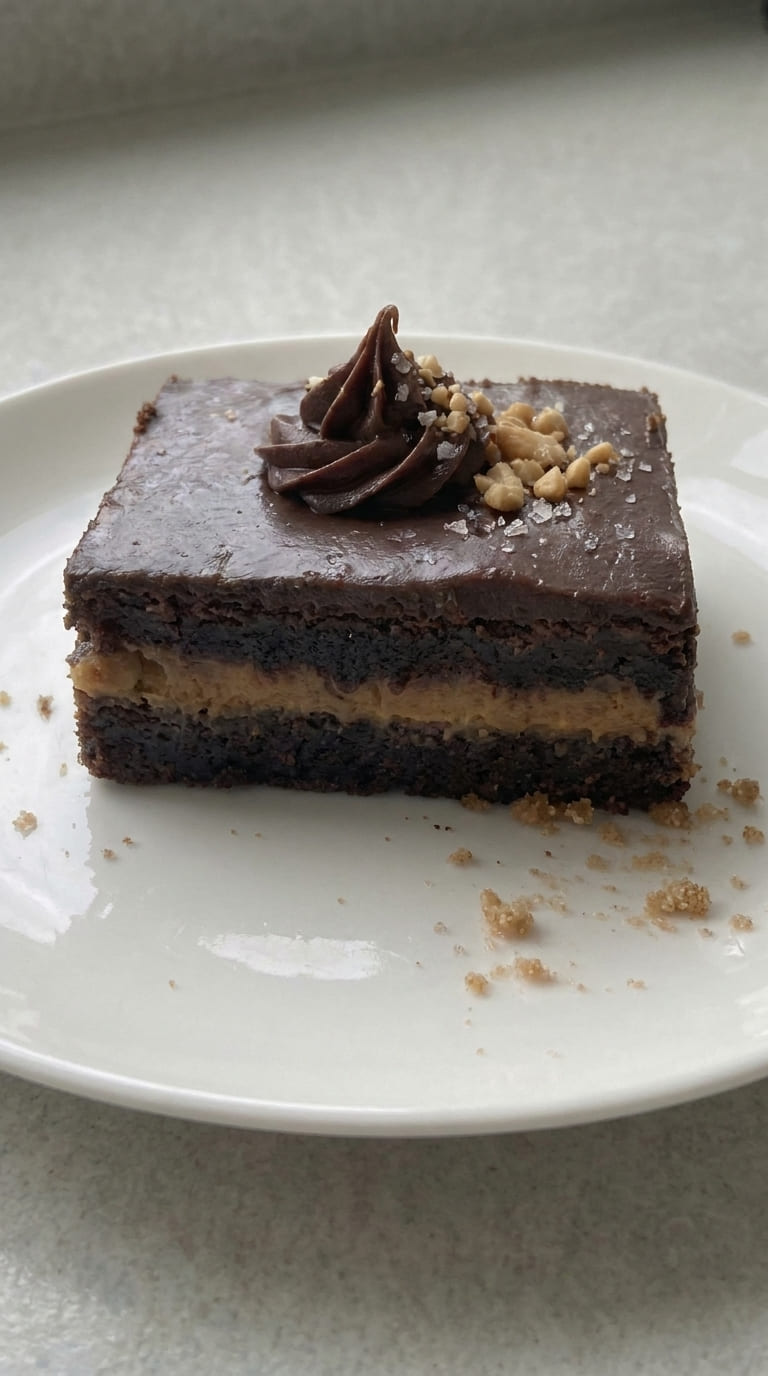
- Thick Biscoff Filling: A generous layer of creamy cookie butter runs through the center of every brownie.
- Ultra Fudgy Texture: Brown sugar, butter, and cocoa powder create rich, dense brownies.
- Double Biscoff Flavor: Creamy cookie butter and crunchy Lotus biscuits make every bite extra special.
- Rich Chocolate Base: Deep cocoa flavor perfectly balances the sweetness of the cookie butter.
- Beautiful Layers: The hidden Biscoff center creates an impressive dessert when sliced.
- Make-Ahead Friendly: Easy to prepare in advance and enjoy chilled for an even fudgier texture.
Perfect for Any Occasion
These Biscoff Brownies are perfect for birthday parties, holiday dessert tables, bake sales, family gatherings, potlucks, afternoon coffee breaks, and special celebrations. Their rich chocolate flavor and irresistible cookie butter filling also make them an excellent choice for dessert boxes and homemade edible gifts.
Biscoff Brownies Recipe, Ultra Fudgy with a Gooey Cookie Butter Center
Ingredient Notes
Biscoff Filling
- Biscoff cookie butter spread: Creates the thick, creamy center with its signature caramelized biscuit flavor.
Chocolate Brownie Batter
- Unsalted butter: Provides richness and contributes to the dense, fudgy texture.
- Light brown sugar: Adds moisture and subtle caramel notes.
- Granulated sugar: Balances the brown sugar and contributes to the brownie texture.
- Eggs and egg yolk: Provide structure, richness, and a chewy consistency.
- Vanilla extract: Enhances the chocolate and cookie butter flavors.
- Neutral oil: Helps keep the brownies soft and moist.
- Cocoa powder: Delivers deep chocolate flavor. Dutch-processed cocoa is especially good for a smooth, rich taste.
- All-purpose flour: Provides structure without making the brownies cakey.
- Cornstarch: Helps create a tender, delicate brownie texture.
- Fine sea salt: Balances sweetness and intensifies the chocolate flavor.
- Instant espresso powder: Optional, enhances the depth of the chocolate without making the brownies taste like coffee.
- Ground cinnamon: Adds subtle warmth that complements the Biscoff flavor.
Topping
- Chopped Biscoff cookies: Add a crunchy biscuit texture and extra caramelized cookie flavor.
Biscoff Brownies Recipe, Ultra Fudgy with a Gooey Cookie Butter Center
Tips for the Best Biscoff Brownies
- Freeze the Cookie Butter Layer: Make sure it is completely solid before assembling so it stays easy to handle.
- Use Dutch-Processed Cocoa: It provides a deeper chocolate flavor and darker brownie color.
- Whisk the Eggs Thoroughly: This helps create the desirable shiny brownie surface.
- Do Not Overmix: Fold in the dry ingredients just until combined to maintain a fudgy texture.
- Avoid Overbaking: Remove the brownies once the center is set to preserve their soft, rich interior.
- Cool Completely: Allow the brownies to cool fully before slicing so the layers hold together beautifully.
Serving Suggestions
- Classic Brownie Squares: Cut into large portions for an indulgent chocolate dessert.
- Warm Dessert: Slightly warm a brownie and serve with vanilla ice cream.
- Extra Biscoff Drizzle: Add melted cookie butter over each serving for even more flavor.
- Chocolate Garnish: Finish with melted dark chocolate or chocolate shavings.
- Dessert Platter: Pair with chocolate truffles, cookies, and mini cheesecakes.
- Chilled Brownies: Refrigerate before serving for a dense, extra-fudgy texture.
Biscoff Brownies Recipe, Ultra Fudgy with a Gooey Cookie Butter Center
A Must Try
These Biscoff Brownies bring together everything dessert lovers crave: rich chocolate, thick creamy cookie butter, and crunchy caramelized biscuits. With their irresistible fudgy texture and hidden Biscoff center, they taste like something straight from a premium bakery. Whether you’re baking for a celebration, sharing with friends, or treating yourself to a chocolate indulgence, these brownies are guaranteed to become a favorite.
Biscoff Brownies Recipe, Ultra Fudgy with a Gooey Cookie Butter Center
Ingredients
- 240 g creamy Biscoff cookie butter spread 1 cup
- 113 g unsalted butter 1 stick or ½ cup
- 200 g light brown sugar lightly packed (1 cup)
- 50 g granulated sugar ¼ cup
- 2 large eggs plus 1 egg yolk cold
- 5 ml vanilla extract 1 tsp
- 14 g neutral oil such as vegetable or avocado oil (1 tbsp)
- 75 g cocoa powder ¾ cup
- 79 g all-purpose flour ½ cup + 2 tbsp
- 8 g cornstarch 1 tbsp
- 2.5 g fine sea salt ½ tsp
- 1 g instant espresso powder ½ tsp, optional
- 0.5 g ground cinnamon ¼ tsp
- 4 Biscoff cookies coarsely chopped
Instructions
Prepare the Cookie Butter Filling
- Begin by lining an 8 x 8-inch metal baking pan with parchment paper or foil, making sure to leave enough overhang on the sides to lift the filling out easily later.
- Transfer the cookie butter to a microwave-safe glass measuring cup and warm it for 20 to 30 seconds, just until it becomes soft and easy to pour. Be careful not to let it get too hot. Pour the melted cookie butter into the prepared pan, spreading it into a smooth, even layer.
- Place the pan in the freezer for about 1 hour, or until the cookie butter has completely firmed up. Once solid, lift it out using the parchment paper and return the cookie butter sheet to the freezer while you prepare the brownie batter. Keeping it frozen will make it easier to handle when assembling the brownies.
Prepare the Brownies
- Preheat your oven to 325°F. Line an 8 x 8-inch baking pan with a fresh piece of parchment paper or foil, then lightly coat it with nonstick cooking spray.
- Place the butter in a large microwave-safe bowl and heat until completely melted. Add both sugars and whisk until thoroughly combined. Set the mixture aside for a few minutes to cool until just warm.
- Add the eggs and egg yolk, whisking vigorously for about 1 minute. Mix in the vanilla extract, oil, and cocoa powder until the mixture is smooth. Using a rubber spatula, gently stir in the flour, cornstarch, salt, espresso powder, and cinnamon. Mix only until all the dry ingredients are incorporated.
- Spread half of the brownie batter evenly across the bottom of the prepared pan. Carefully remove the frozen cookie butter layer from the freezer and place it over the brownie batter. Cover with the remaining brownie mixture, making sure the cookie butter is completely enclosed. Finish by scattering the chopped cookies over the top, pressing them gently into the batter so they stay in place.
- Bake for 32 to 35 minutes, or until the brownies are set. Keep a close eye on them, as overbaking can take away that lovely fudgy texture.
- Remove the pan from the oven and allow the brownies to cool completely. This resting time is important because it helps them firm up, making them much easier to cut into neat squares.
- Store any leftovers in an airtight container at room temperature for up to 3 days. These brownies are delicious in different ways depending on how you serve them: warm, they have a wonderfully gooey texture; at room temperature, they become pleasantly chewy; and when chilled, they develop an especially rich, fudgy consistency.
Notes
- Cocoa Powder: Dutch-process cocoa powder is my first choice for these brownies because of its deep, rich chocolate flavor. However, natural unsweetened cocoa powder works just as well. You can substitute it in equal amounts.
- Baking Pan: A metal 8 x 8-inch pan is strongly recommended for the best baking results. Glass and ceramic pans are not ideal for this recipe. If you only have one of these, allow an additional 5 to 10 minutes of baking time, checking carefully for doneness.